Who is this for?
Beginner & Intermediate developers looking to level up their React Native skills and build a production-ready, full-stack mobile application — with a real backend, authentication, roles, and an admin panel, not just a UI mockup.
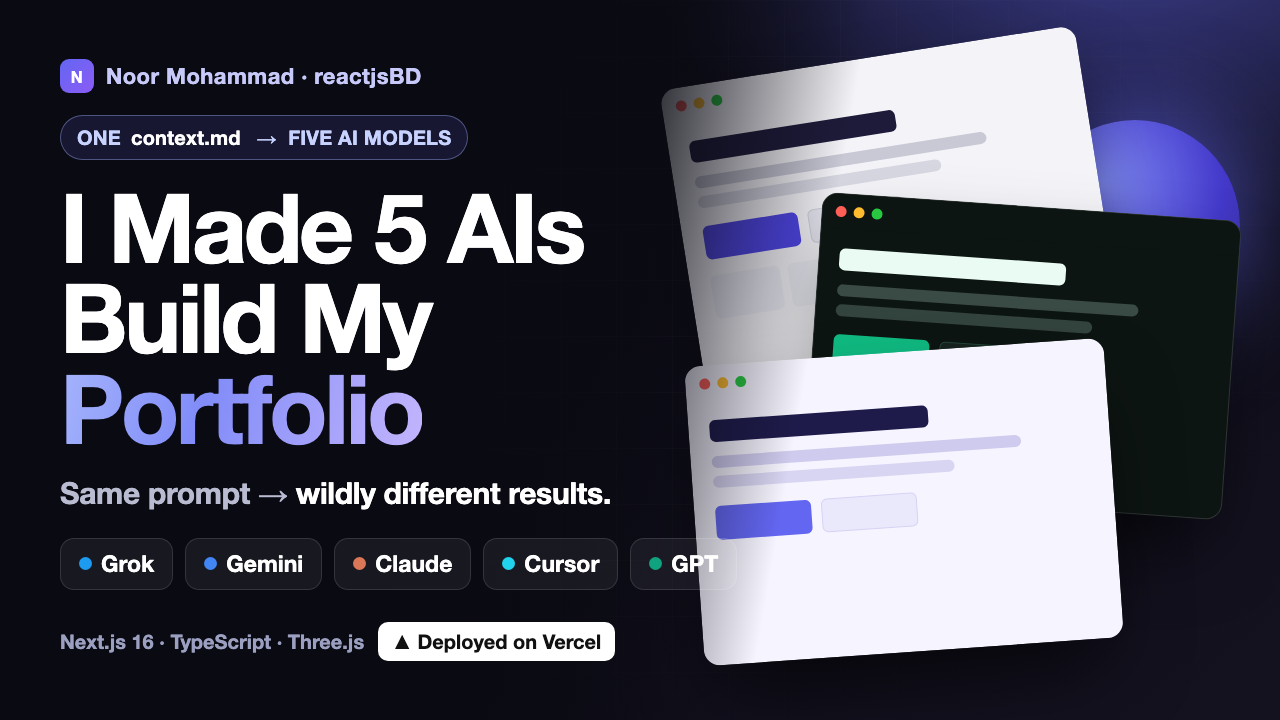
I Gave 5 AIs ONE Prompt to Build My Portfolio — Grok vs Gemini vs Claude vs Cursor vs GPT
I gave the exact same context.md prompt to 5 different AI models — Grok, Gemini, Claude, Cursor, and GPT — and asked each one to build a complete developer portfolio. Same instructions, same tech stack, wildly different results. 🧩 What's inside: • The single context.md prompt I used for every AI • Grok vs Gemini vs Claude vs Cursor vs GPT — full design + code comparison • Which model nailed layout, accessibility, and clean code (and which didn't) • Building the final portfolio: Next.js 16, React 19, TypeScript, Tailwind CSS, shadcn/ui, Framer Motion & a Three.js hero • Fixing errors and shipping a production build • Deploying to Vercel for free
Technologies Used
Key Features
Who is this for?
Beginner & Intermediate developers looking to level up their React Native skills and build a production-ready, full-stack mobile application — with a real backend, authentication, roles, and an admin panel, not just a UI mockup.
Starter Docs & Prompts
Everything you need to kick off this project — copy the master prompt or setup docs below and use them directly in your editor or AI assistant.
Copy this file into your project to get started — use Preview to read it, or Raw to grab the exact markdown.
You are an expert Next.js 16 architect and premium UI/UX designer. Generate a complete, clean, production-ready developer portfolio website for Noor Mohammad that is fully ready for Vercel deployment.
Owner Information
- Name: Noor Mohammad
- Location: Dhaka, Bangladesh
- YouTube: https://www.youtube.com/@reactjsBD
- Medium: https://medium.com/@reactjsbd
Tech Stack (Latest)
- Next.js 16 (App Router + Turbopack)
- React 19
- TypeScript (strict mode)
- Tailwind CSS
- shadcn/ui (use official components)
- Framer Motion
- next-themes
- @react-three/fiber + @react-three/drei (subtle 3D)
- lucide-react, sonner, react-hook-form, zod, @hookform/resolvers
Critical Requirements
Production Ready for Vercel
- The project must pass
npm run buildwith zero TypeScript errors and zero critical warnings. - Use strict TypeScript.
- All components must be properly typed and production-safe.
- Contact form and 3D components must have proper error handling.
Light & Dark Mode
- Implement flawless light/dark mode using
next-themes. - Create a clean and beautiful ThemeToggle component.
Images
- Use high-quality free images from Unsplash for profile photo, hero, and all project thumbnails.
- Properly configure
next.config.jswith remote patterns.
Three.js 3D Effects
- Add one subtle, elegant 3D element in the Hero section using
@react-three/fiberand@react-three/drei. - Keep it lightweight with proper Suspense and fallback.
Tools I Ship With Section
- Create a dedicated section called "Tools I Ship With".
- Display tools as clean, clickable badges.
- Clicking any tool must open its official website in a new tab (React, Next.js, TypeScript, Tailwind CSS, shadcn/ui, Framer Motion, Three.js, Node.js, MongoDB, Vercel, etc.).
Links
- Add YouTube and Medium links in the Navbar, Hero, and Content section.
Fully Complete Project
- The generated project must be 100% ready to deploy after running
npm run build. - No placeholder text or broken functionality.
Required Sections (in order)
- Sticky Navbar (with ThemeToggle and social links)
- Hero Section (with subtle 3D element)
- About Me
- Experience (vertical timeline)
- Skills
- Tools I Ship With (clickable badges linking to official websites)
- Featured Projects (filterable grid + modal)
- Content & Writing (YouTube + Medium links)
- Contact (fully functional form)
- Footer
Data
Create a clean lib/data.ts file with editable arrays for projects, experience, skills, and tools.
Output Structure (Follow Exactly)
Step 1: Terminal Setup Commands
Provide the complete commands to scaffold the project from scratch.
Step 2: Install Dependencies
Give the full npm install command.
Step 3: shadcn Setup
Include the initialization command and recommended options.
Step 4: All Project Files
Provide every file with clear headers like this:
// app/layout.tsx
// full code